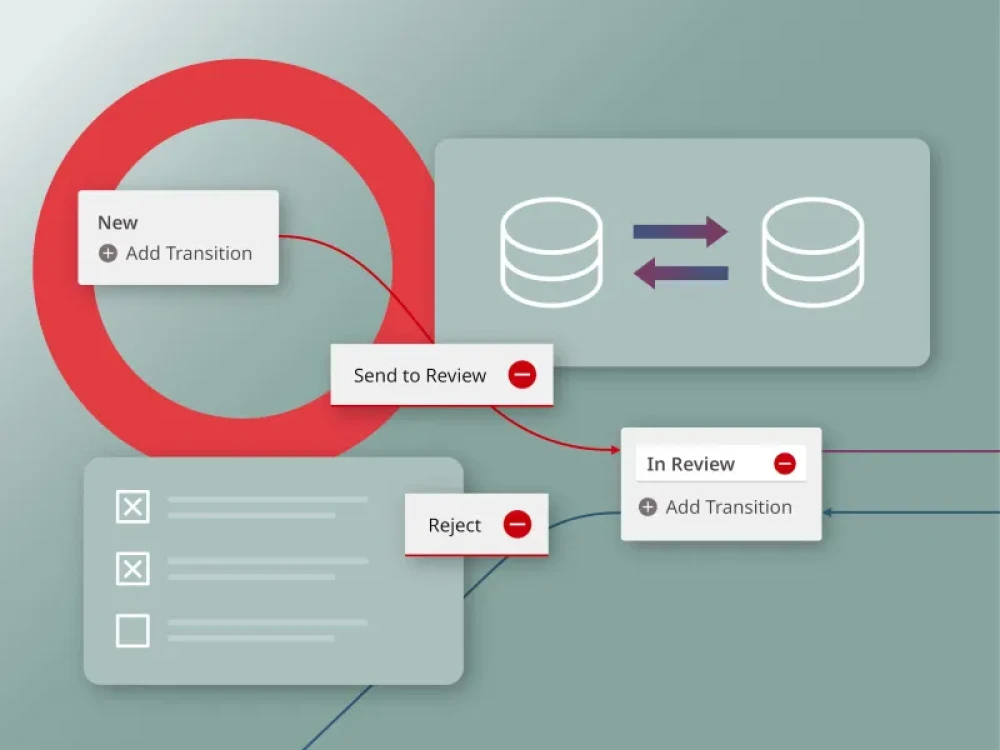
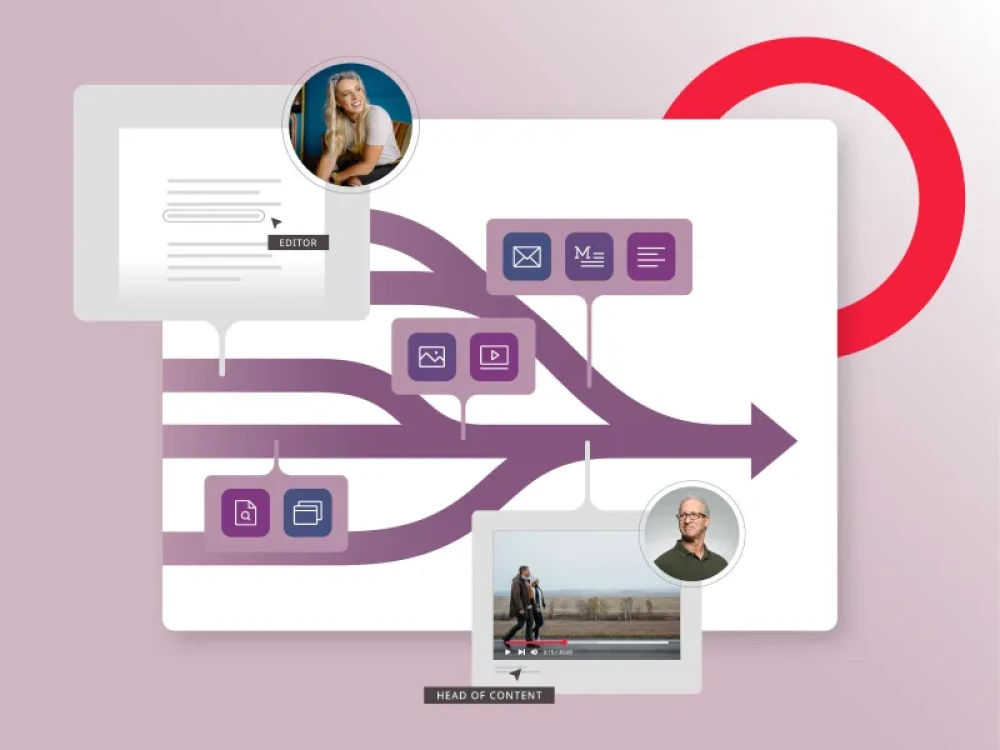
Marketo and Brightspot: How it works
Optimize your marketing efforts with a consistent forms experience that provides the ability to customize and control the front end look-and-feel for your lead gen forms while seamlessly delivering customer data into your Marketo marketing automation database. This integration mitigates the need for third-party embed code that can slow page performance as well as limit the ability to customize the experience based on your brand and style guidelines.
Add forms directly on your website to connect and send customer data to your Marketo account via API. Forms can be created and managed directly within the CMS to reduce context switching and accelerate marketing speed and efficiency.
Marketo and Brightspot: Use cases
- A B2B brand has published a new thought-leadership asset that is available to download behind a content “gate.” A campaign to promote and drive new customer acquisition requires a download form to gather a customer’s name and email address. This campaign and subscriber list will be managed in Marketo.
- An organization’s HR team has a contact page for prospective new hires to submit their queries for career openings and company information. A contact form is required to gather user information and route to the appropriate internal resource for follow-up.
- A media company is conducting a live virtual event to showcase its annual customer awards. A sign-up form to reserve a “seat” and attend the event is required. This form can be embedded on the event registration microsite.
Marketo and Brightspot: How to use the Marketo integration
To create a form for specific Marketo campaign, follow these steps in the CMS:
- Create or open the asset to which you want to add a Marketo form. Or create new module directly from Add shortcut in CMS persistent-search header.
- Select add Module option and choose Third Party Form from list of choices.
- From the Provider list, select Marketo.
- From the Marketo Form list, select the required form. (Brightspot ingests forms from Marketo every hour on the hour, so the form you need may not be immediately available.)
Follow steps for creating your new form, including:
- In the Title field, enter a title. (If you do not enter a title, Brightspot uses the title in the Marketo form.)
- In the Description field, enter a description for the form.
- Leave the Items and Actions fields blank. Brightspot populates them from the Marketo form.
- In the Success Message field, design a message that appears when Brightspot successfully ingests the form’s data.
- In the Error message field, design a message that appears when Brightspot cannot successfully ingest the form’s data.
- Custom styles can be set in the Advance tab Styles area.
- Complete your site’s workflow, and publish the form.


