What’s new at Brightspot
The latest Brightspot release help teams move faster, stay on brand and scale without risk. It’s a toolkit of fresh capabilities and enhanced features, all designed to reset how you create, govern and optimize content.


-
The newest release is a total game-changer, dramatically improving our speed-to-market with content.
Crystal Hudson, Director of Digital Fundraising & Strategy for Special Olympics
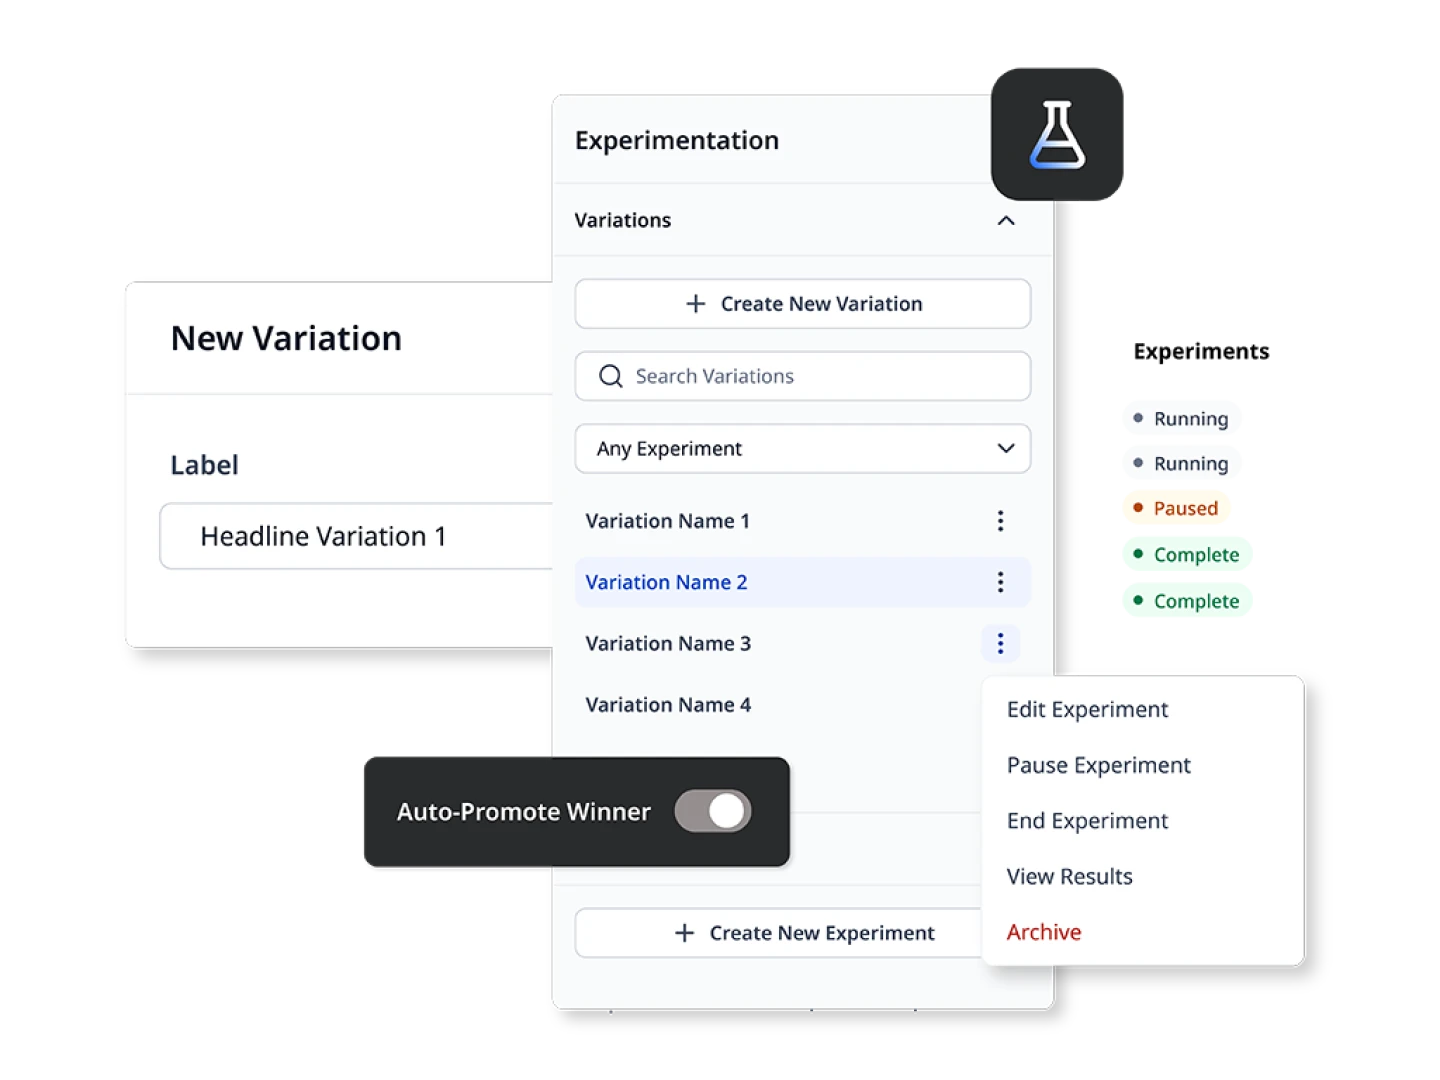
A/B and A/B/n tests → Launch and manage experiments directly in Brightspot without developer support or third-party tools.
Design your own experiments → Define audience splits and take actions like pausing, ending or promoting winning variations.
Experimentation dashboard → Centralized results with clear performance metrics, runtime estimates and controls to pause or promote winners.

Streamlined interface → Sleek layouts and motion design reduce friction and make publishing more intuitive.
Expandable dashboards → Expanded, adjustable panels give teams more visibility and control.
Work anywhere → Collapsible filters and mobile-optimized publishing speed approvals and reviews across devices.
Contextual commenting → Real-time, inline content collaboration to keep publishing fast, precise and accountable.
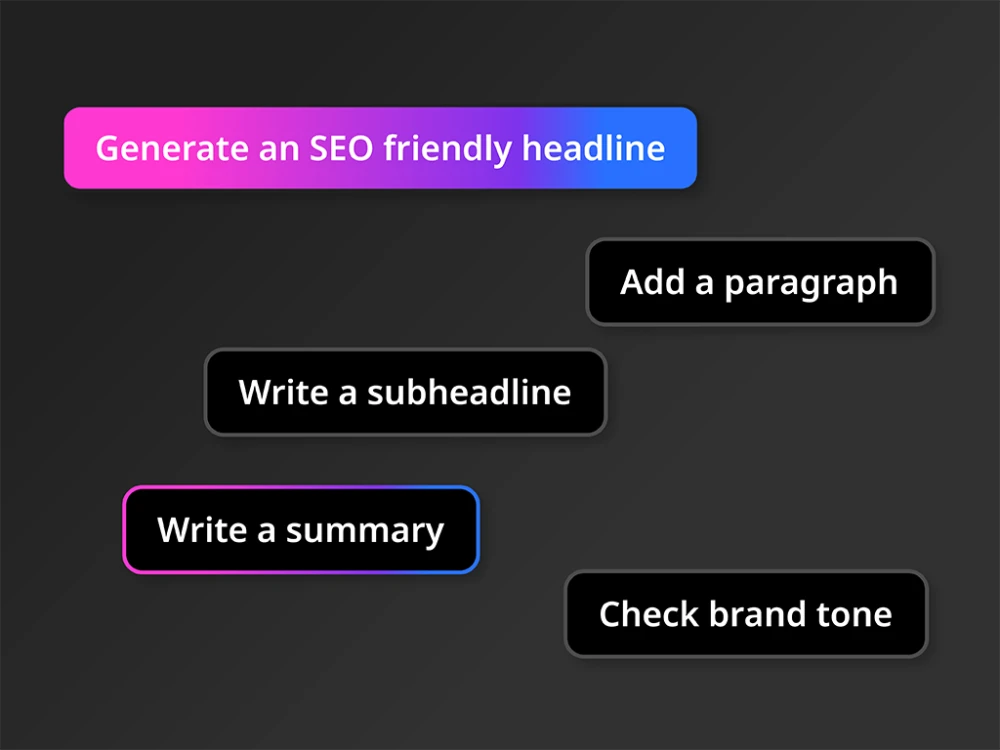
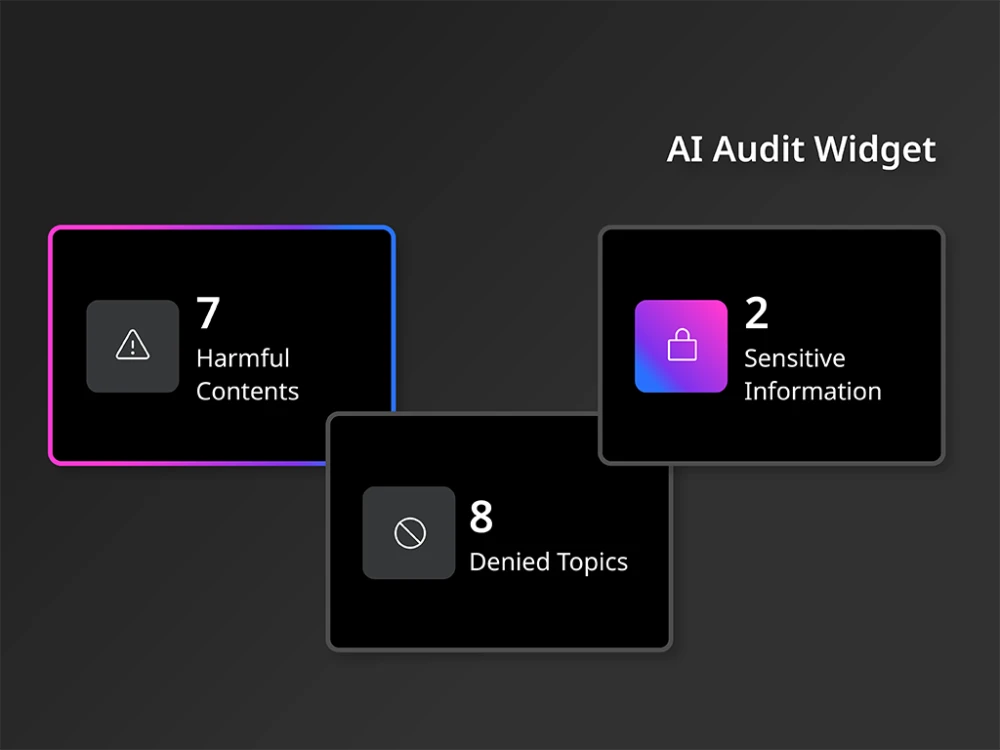
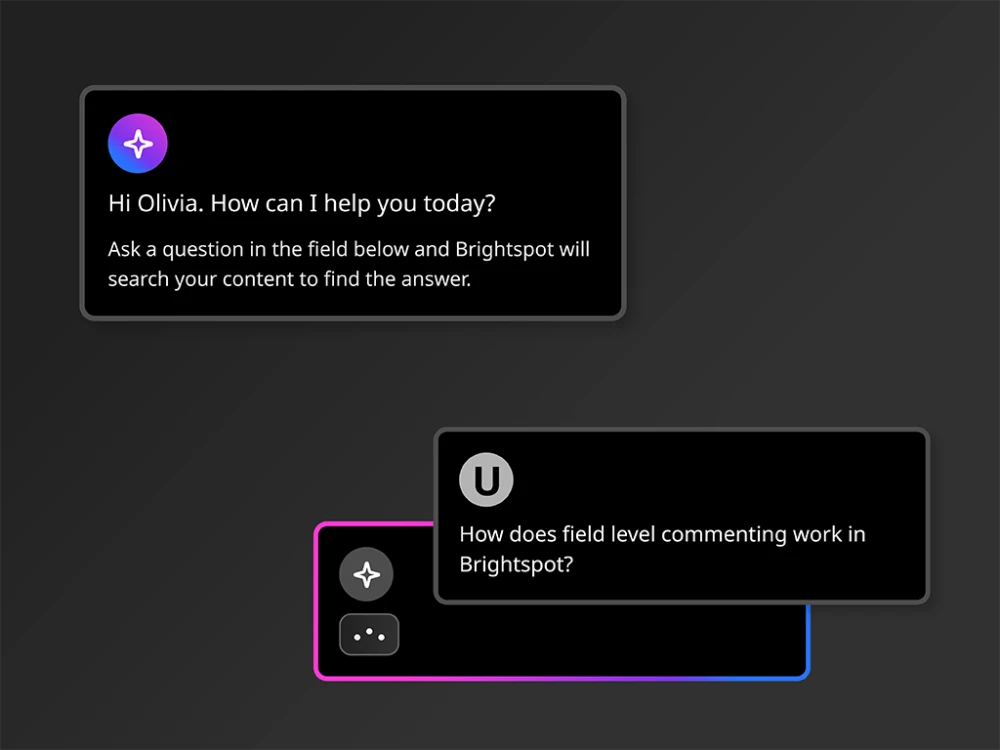
Brightspot’s latest AI upgrades help teams create faster, enforce brand voice and work with confidence through features like author personas, inline editing, conversation history and source-backed answers.
The release is available to all new customers and as an upgrade for current customers. Contact your Customer Success Manager to review setup and migration needs.
Yes. Experimentation is built directly into the CMS, letting teams run A/B and A/B/n tests, manage traffic and see results without developer support or third-party tools.
The redesigned UI is faster, cleaner and easier to navigate — with streamlined layouts, dashboards and mobile optimization that make daily publishing more intuitive and productive.
MCP is an open standard released by Anthropic in November 2024 that lets AI agents interact with enterprise systems through structured, callable actions. It provides a consistent interface so agents can work across multiple platforms without custom integrations for each one.
Agents can discover your content model, search content using keyword or semantic queries, and create or update content through governed endpoints. Discover more about Brightspot’s MCP server here.
The Brightspot Toolkit is a Chrome browser extension that provides a unified “shared window” for marketing, editorial and development teams. It allows you to inspect and edit your live website directly from the browser without needing to hunt through the CMS back end. Learn more about the Toolkit here.